Javaアプリが稼働するサーバでヒープやGCの状況を調べたいんだがどうするかというお話。
手っ取り早く確認する手段としては以下が考えられるでしょうか。
・jstatでモニタリング(jstatリファレンス)
・jconsoleでモニタリング(jconsoleリファレンス)
1.jstatを使う。
jstatを使用するには、jdk-develパッケージをインストールする。
⓵yumでopenjdk-develパッケージをインストール(筆者の環境はver1.8を使用)
#
# yum install java-1.8.0-openjdk-devel
#
⓶コマンド確認
#
# jstat -help
^?Usage: jstat -help|-options
       jstat -<option> [-t] [-h<lines>] <vmid> [<interval> [<count>]]

Definitions:
  <option>      An option reported by the -options option
  <vmid>        Virtual Machine Identifier. A vmid takes the following form:
                     <lvmid>[@<hostname>[:<port>]]
                Where <lvmid> is the local vm identifier for the target
                Java virtual machine, typically a process id; <hostname> is
                the name of the host running the target Java virtual machine;
                and <port> is the port number for the rmiregistry on the
                target host. See the jvmstat documentation for a more complete
                description of the Virtual Machine Identifier.
  <lines>       Number of samples between header lines.
  <interval>    Sampling interval. The following forms are allowed:
                    <n>["ms"|"s"]
                Where <n> is an integer and the suffix specifies the units as
                milliseconds("ms") or seconds("s"). The default units are "ms".
  <count>       Number of samples to take before terminating.
  -J<flag>      Pass <flag> directly to the runtime system.
#
#
⓷オプションは以下のとおり(リファレンスの内容です)
class: クラス・ローダーの動作に関する統計情報を表示します。
compiler: Java HotSpot VM Just-in-Timeコンパイラの動作に関する統計情報を表示します。
gc: ガベージ・コレクションが行われたヒープの動作に関する統計情報を表示します。
gccapacity: 世代と対応する領域の容量に関する統計情報を表示します。
gccause: ガベージ・コレクションの統計情報に関するサマリー(-gcutilと同じ)を、直前および現在(適用可能な場合)のガベージ・コレクション・イベントの原因とともに表示します。
gcnew: New世代の動作の統計情報を表示します。
gcnewcapacity: New世代とそれに対応する領域のサイズに関する統計情報を表示します。
gcold: Old世代の動作とメタスペースに関する統計データを表示します。
gcoldcapacity: Old世代のサイズに関する統計情報を表示します。
gcmetacapacity: メタスペースのサイズに関する統計情報を表示します。
gcutil: ガベージ・コレクションの統計情報に関するサマリーを表示します。
printcompilation: Java HotSpot VMコンパイル・メソッドの統計情報を表示します。
⓸ jpsコマンドでtomcatのpidを確認(pidがわかればコマンドはpsでもなんでもいい)
#
# jps -l
14501 sun.tools.jps.Jps
2745 org.apache.catalina.startup.Bootstrap
#
#
⑤ jstat実行例(gcutilオプション、ヘッダー10行毎、javaプロセスID 2745、 1秒毎(1000msec)に状態出力)
#
# jstat -gcutil -h 10 2745 1000
  S0     S1     E      O      M     CCS    YGC     YGCT    FGC    FGCT     GCT
  0.00   1.09  58.01   2.14  95.72  90.57      1    0.002     3    0.101    0.103
  0.00   1.09  58.01   2.14  95.72  90.57      1    0.002     3    0.101    0.103
  0.00   1.09  58.01   2.14  95.72  90.57      1    0.002     3    0.101    0.103
  0.00   1.09  58.01   2.14  95.72  90.57      1    0.002     3    0.101    0.103
  0.00   1.09  58.10   2.14  95.72  90.57      1    0.002     3    0.101    0.103
  0.00   1.09  58.10   2.14  95.72  90.57      1    0.002     3    0.101    0.103
  0.00   1.09  58.10   2.14  95.72  90.57      1    0.002     3    0.101    0.103
  0.00   1.09  58.10   2.14  95.72  90.57      1    0.002     3    0.101    0.103
  0.00   1.09  58.20   2.14  95.72  90.57      1    0.002     3    0.101    0.103
  0.00   1.09  58.20   2.14  95.72  90.57      1    0.002     3    0.101    0.103
  S0     S1     E      O      M     CCS    YGC     YGCT    FGC    FGCT     GCT
  0.00   1.09  58.20   2.14  95.72  90.57      1    0.002     3    0.101    0.103
  0.00   0.00   0.48   1.18  94.52  90.02      1    0.002     4    0.151    0.153
  0.00   0.00   1.93   1.18  94.52  90.02      1    0.002     4    0.151    0.153
  0.00   0.00   1.93   1.18  94.52  90.02      1    0.002     4    0.151    0.153
  0.00   0.00   1.93   1.18  94.52  90.02      1    0.002     4    0.151    0.153
  0.00   0.00   1.93   1.18  94.52  90.02      1    0.002     4    0.151    0.153
  0.00   0.00   1.93   1.18  94.52  90.02      1    0.002     4    0.151    0.153
  0.00   0.00   1.93   1.18  94.52  90.02      1    0.002     4    0.151    0.153
  0.00   0.00   1.93   1.18  94.52  90.02      1    0.002     4    0.151    0.153
  0.00   0.00   2.40   1.18  94.52  90.02      1    0.002     4    0.151    0.153
  S0     S1     E      O      M     CCS    YGC     YGCT    FGC    FGCT     GCT
  0.00   0.00   2.46   1.18  94.52  90.02      1    0.002     4    0.151    0.153
  0.00   0.00   2.46   1.18  94.52  90.02      1    0.002     4    0.151    0.153
  0.00   0.00   2.46   1.18  94.52  90.02      1    0.002     4    0.151    0.153
2.jconsoleを使う(こちらが本題)
Windowsサーバやrunlevel 5で起動しているLinuxサーバならデスクトップでJconsoleを起動することも可能でしょうがrunlevel 3(サーバとして構築する場合はCLI Onlyが多いですよね)の場合はGUIが使用できない。jdkのdevelパッケージも入れることができない環境(運用ルールとしてですが)でヒープの状態確認する必要が発生してどうしようかと。で、PC上でX-serverを起動してGUIを使うことに。
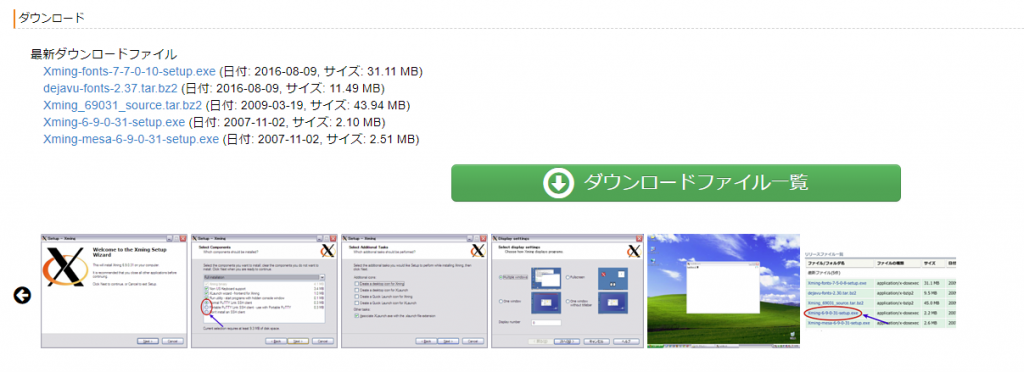
⓵ Xmingのダウンロード
OSDNのページからフォントとバイナリーをダウンロード(Xming X Server for Windows)
最新版を使用したい場合は、こちらから。寄付が必要になるようです。
フォント:Xming-fonts-7-7-0-10-setup.exe
本体:Xming-6-9-0-31-setup.exe
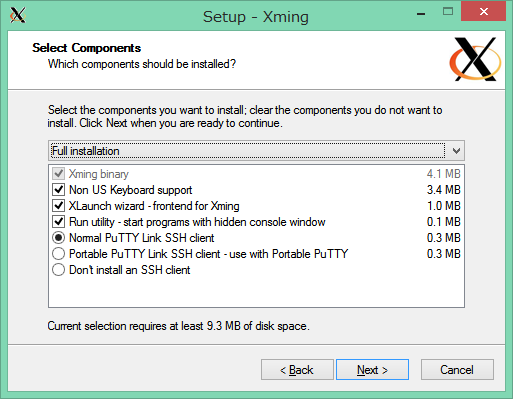
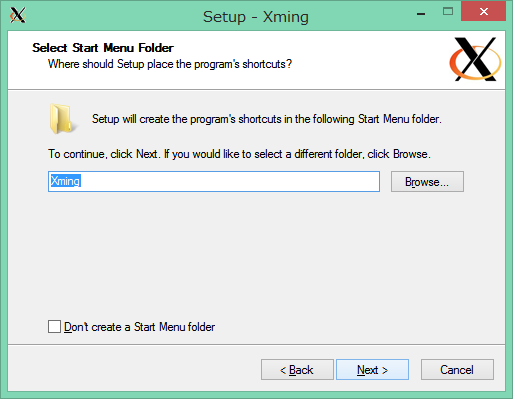
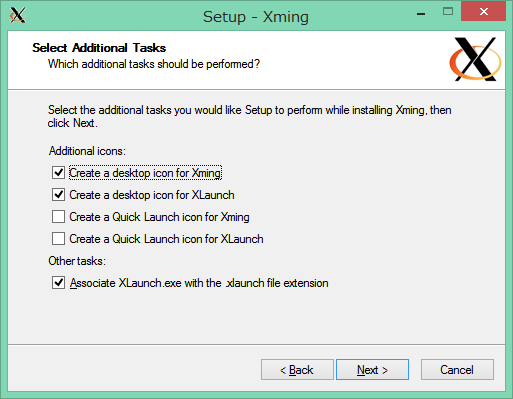
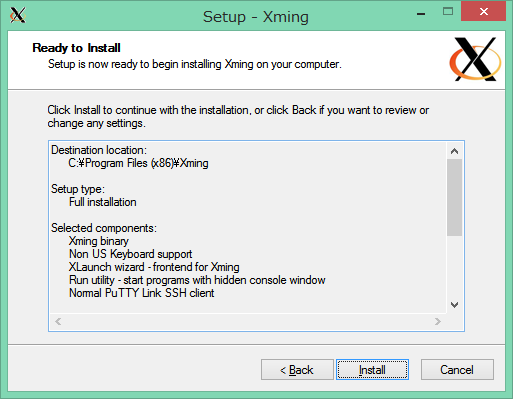
⓶ Xmingのインストール
ダウンロードした Xming-6-9-0-31-setup.exe を実行するだけ。デフォルト値ですすめて問題なし。

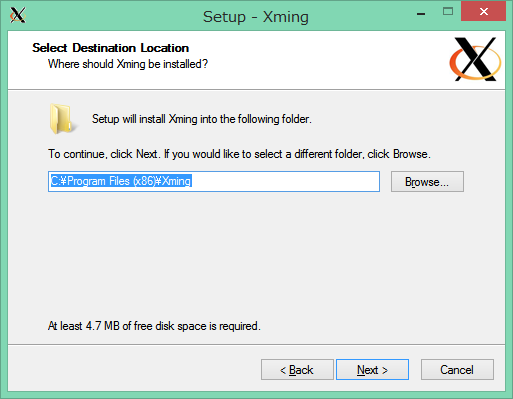
XLaunch等は必要ないので余計なものは入れたくないという方はここで取捨選択を。
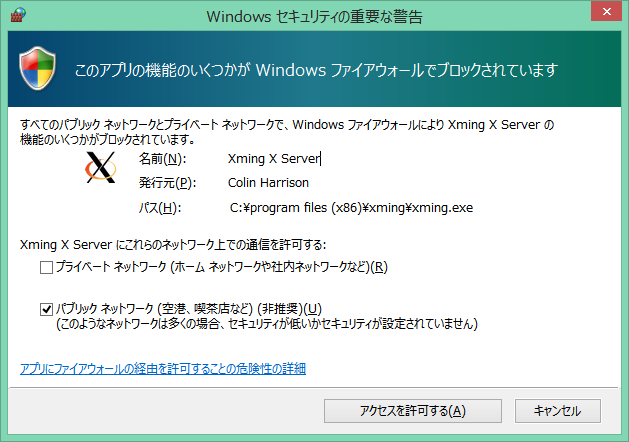
Windowsファイアウォールの警告が出るかもしれないです。
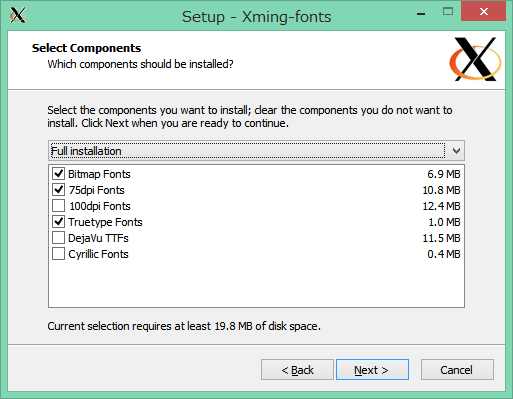
⓷ フォントのインストール
こちらもデフォルトでインストールをすすめて問題なし。


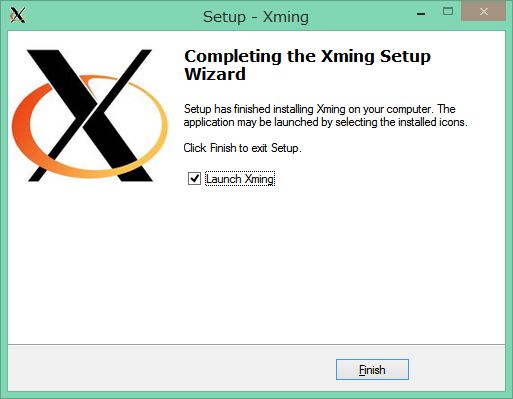
以上でインストールは完了。
⓸ X0.hostsの変更
Xmingをインストールしたフォルダ内にあるX0.hostsファイルにjconsoleを実行するサーバのIPを追記・
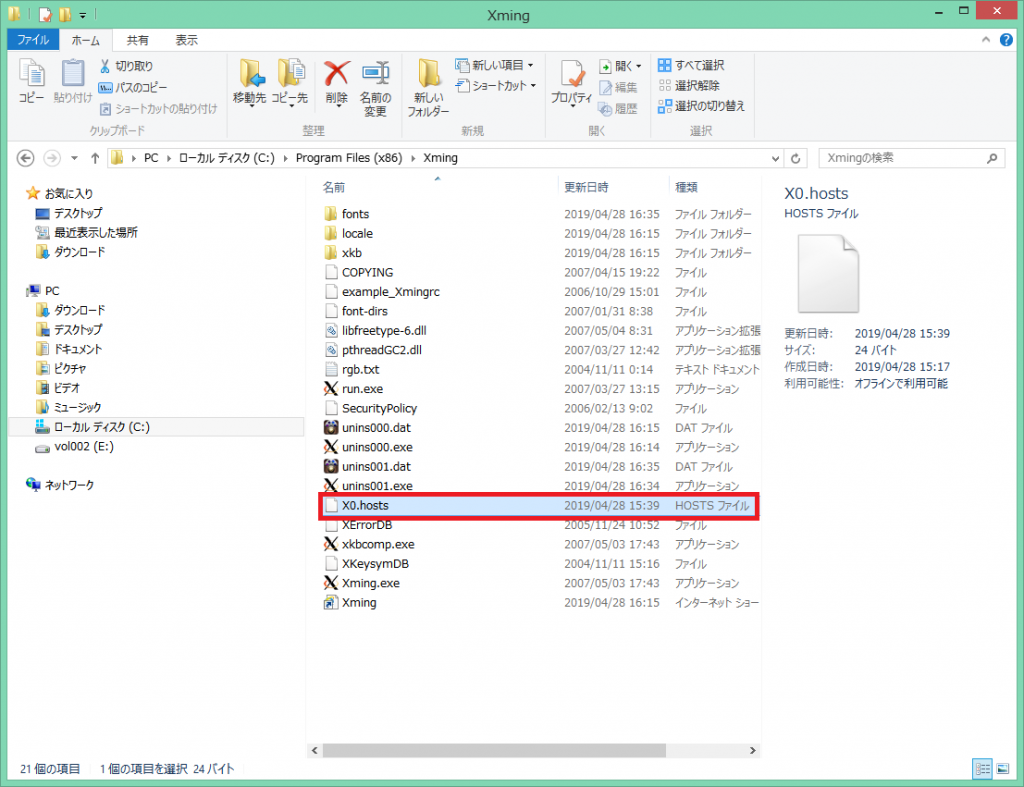
localhost
192.168.11.63  ← 追記
Xmingが起動している場合は、一度終了してから再起動。
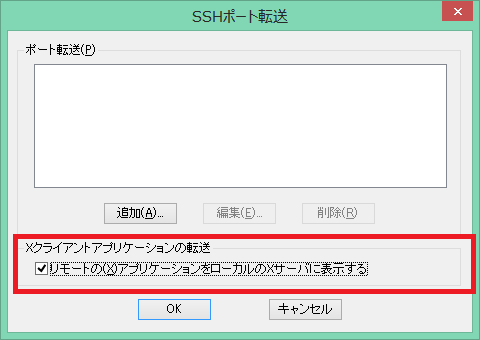
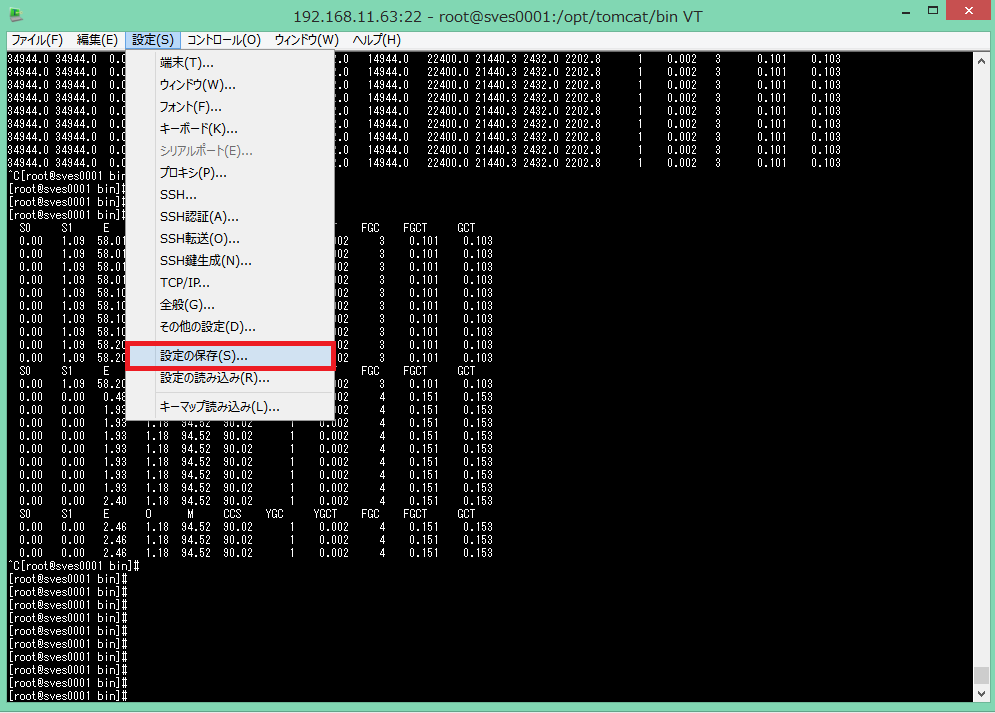
⑤ teratermの設定
SSH転送の設定を行い設定ファイルを保存する。

「リモートの(x)アプリケーションをローカルのサーバに表示する」にチェックを入れて「OK」をクリック。
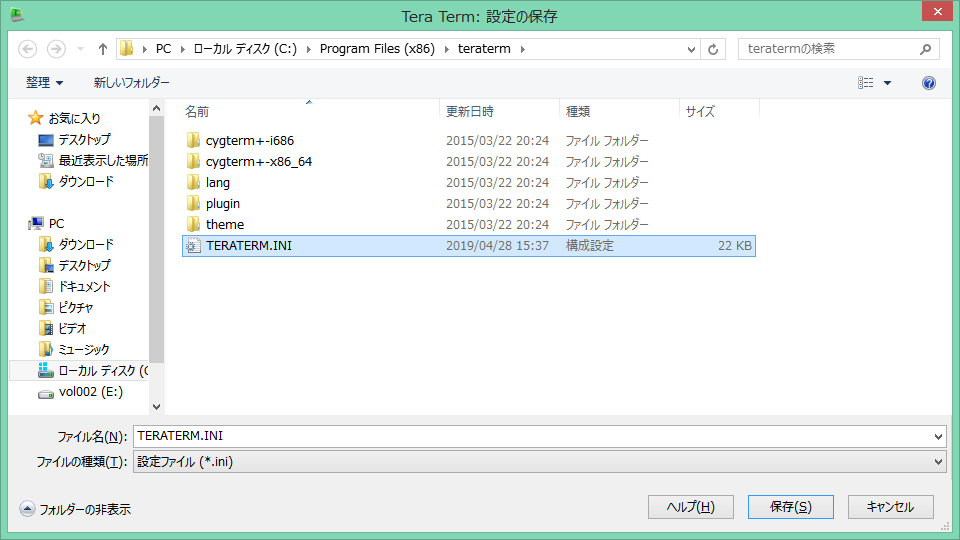
設定ファイルを保存します。
⑥ tomcatの起動オプションにJMXのパラメータ追加
JMXの構成については「Apache Tomcat 用の JMX 接続の構成」あたりを参照してもらえればと。
tomcatのbinディレクトリ配下にsetenv.shファイルを作成し、CATALINA_OPTSにパラメータを設定しファイルのパーミッションも実行権を付けておきます。
筆者の場合はsetenv.shに起動パラメータを設定していますが、/etc/sysconfigに起動オプションを設定する場合もあるでしょうし稼働環境に合わせて読み替えてください。
CATALINA_OPTS="-server -Xmx1024m -Xms1024m
               -Dcom.sun.management.jmxremote=true
               -Dcom.sun.management.jmxremote.port=8686
               -Dcom.sun.management.jmxremote.ssl=false
               -Dcom.sun.management.jmxremote.authenticate=false"
export CATALINA_OPTS
ファイルを保存したらtomcatを再起動します。
#
# systemctl stop tomcat
# systemctl start tomcat
#
⑦パラメータの確認。
tomcatのプロセスを確認しパラメータが有効になっていることを確認します。
#
# jps -v
25168 Jps -Denv.class.path=/opt/tomcat/lib/servlet-api.jar -Dapplication.home=/usr/lib/jvm/java-1.8.0-openjdk-1.8.0.212.b04-0.el7_6.x86_64 -Xms8m
23918 Bootstrap -Djava.util.logging.config.file=/opt/tomcat/conf/logging.properties -Djava.util.logging.manager=org.apache.juli.ClassLoaderLogManager -Djdk.tls.ephemeralDHKeySize=2048 -Djava.protocol.handler.pkgs=org.apache.catalina.webresources -Dorg.apache.catalina.security.SecurityListener.UMASK=0027 -Xmx1024m -Xms1024m -Dcom.sun.management.jmxremote=true -Dcom.sun.management.jmxremote.port=8686 -Dcom.sun.management.jmxremote.ssl=false -Dcom.sun.management.jmxremote.authenticate=false -Dignore.endorsed.dirs= -Dcatalina.base=/opt/tomcat -Dcatalina.home=/opt/tomcat -Djava.io.tmpdir=/opt/tomcat/temp
#
⑧ jconsoleの起動
teratermを起動してtomcatが稼働しているサーバへ接続します。
以下の環境変数を設定してjconsoleを起動。
LANG=C ← 文字化け対策
DISPLAY=192.168.11.5:0 ← Xmingを起動しているPCのIPとコンソール番号を指定
#
# export LANG=C
# export DISPLAY=192.168.11.5:0
# jconsole
#
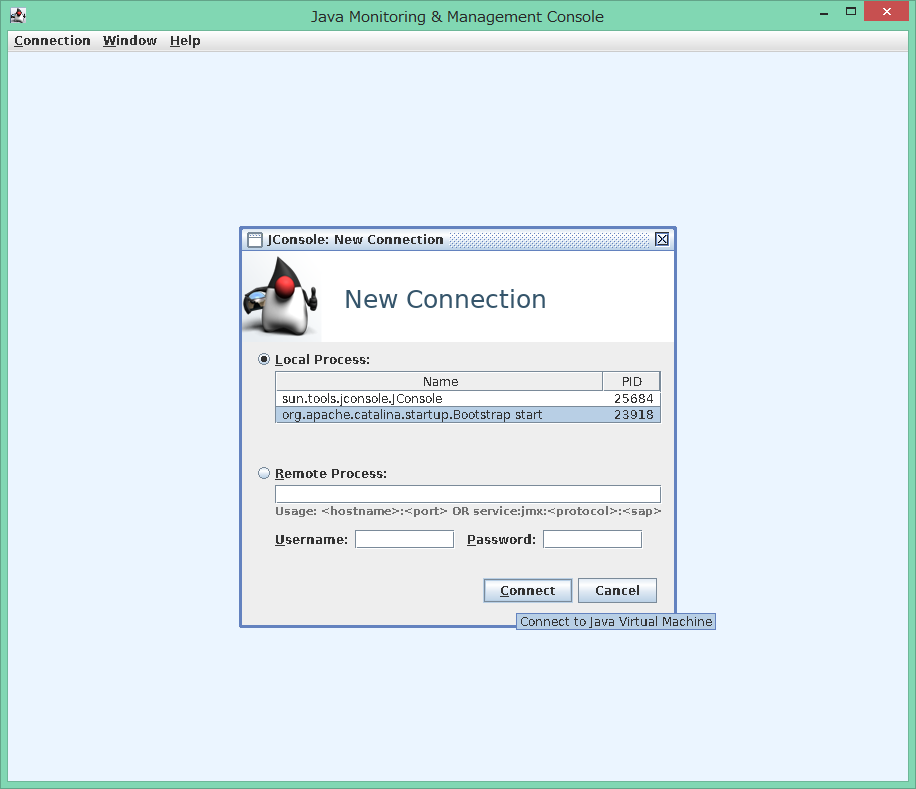
起動しました。
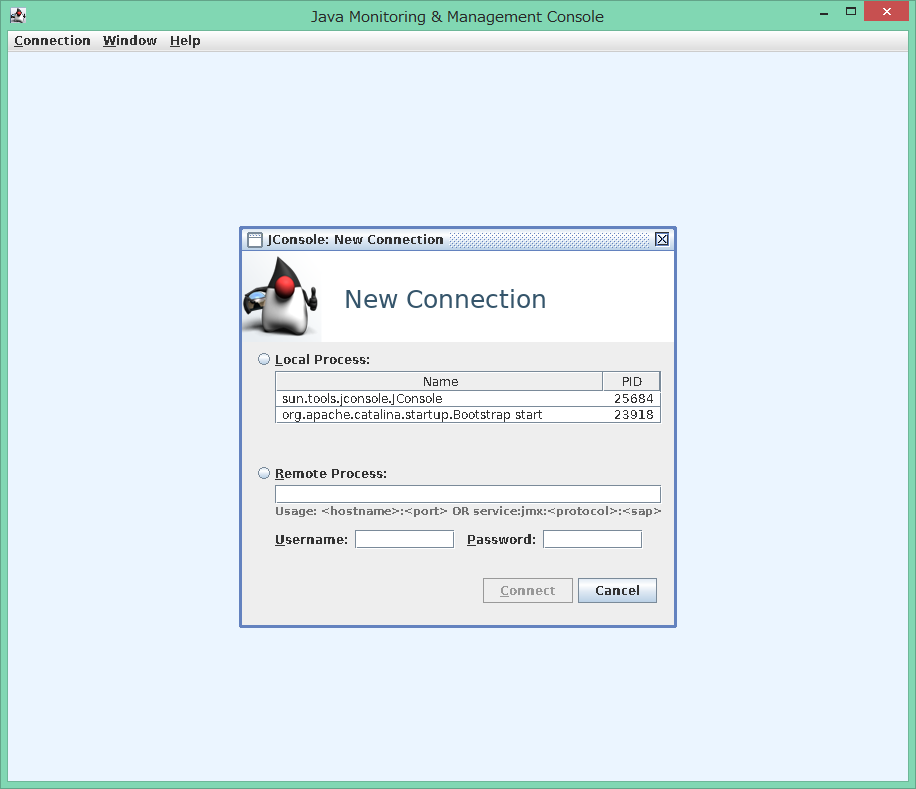
tomcatのプロセスを選択して「Connect」をクリック。
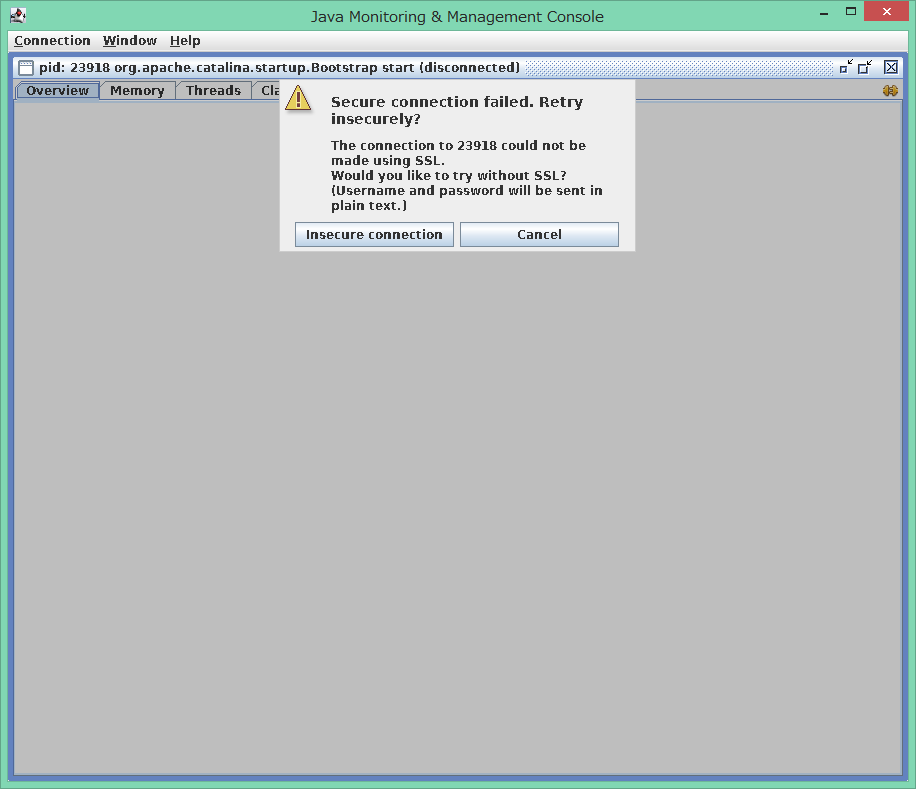
SSL化はしていないので「insecure connection」をクリック。
モニタリング内容が表示されました。
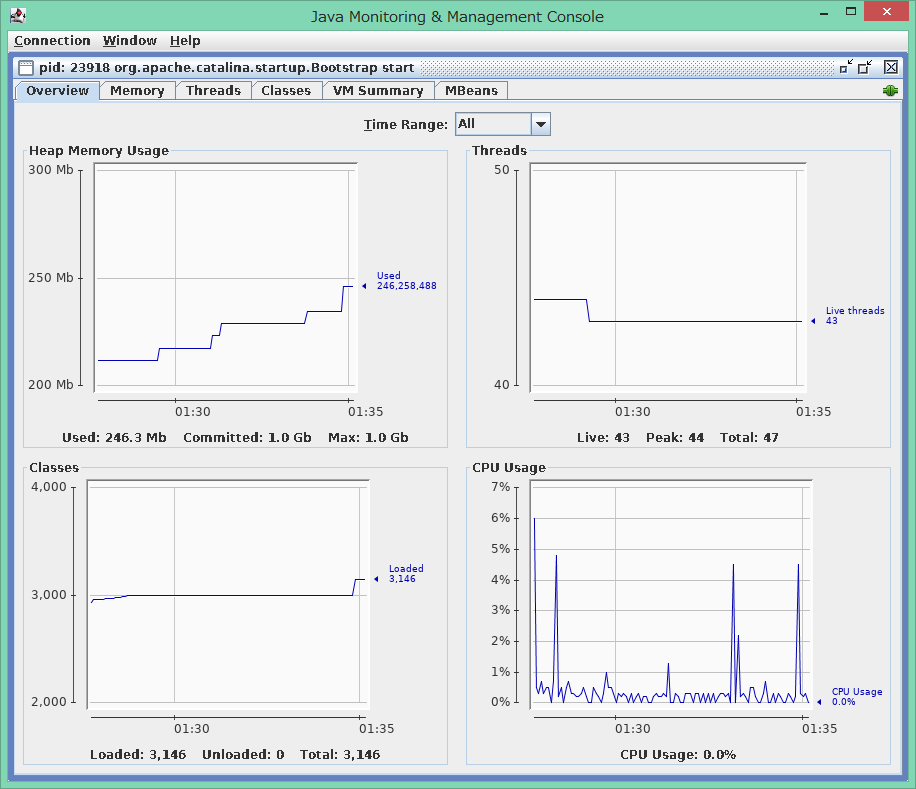
各タブのスクショを載せておきます。
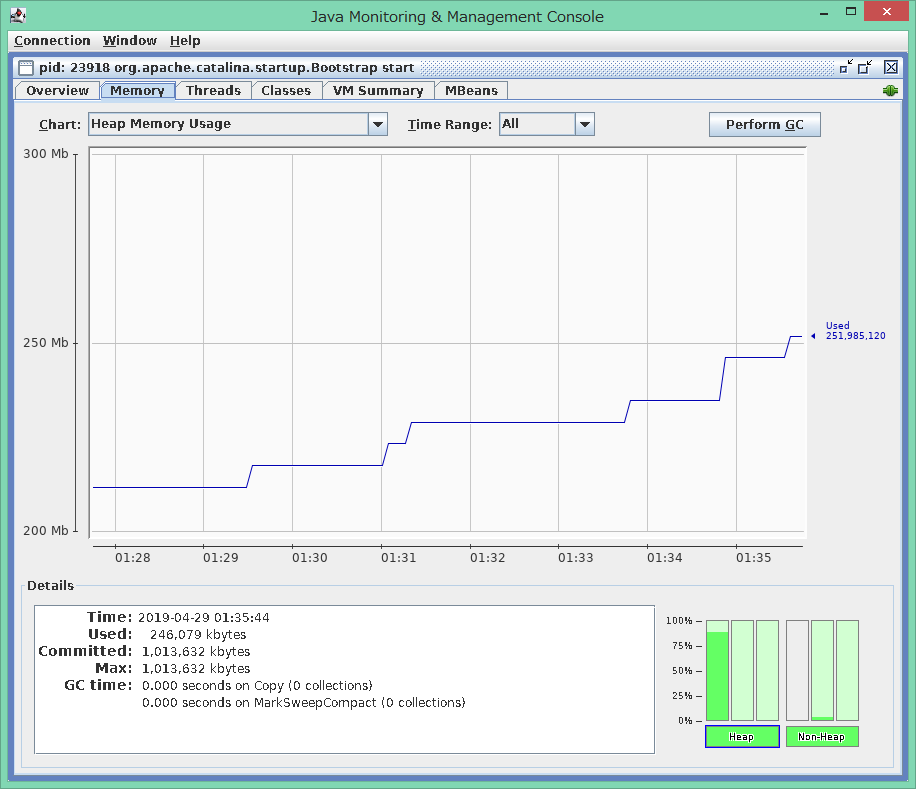

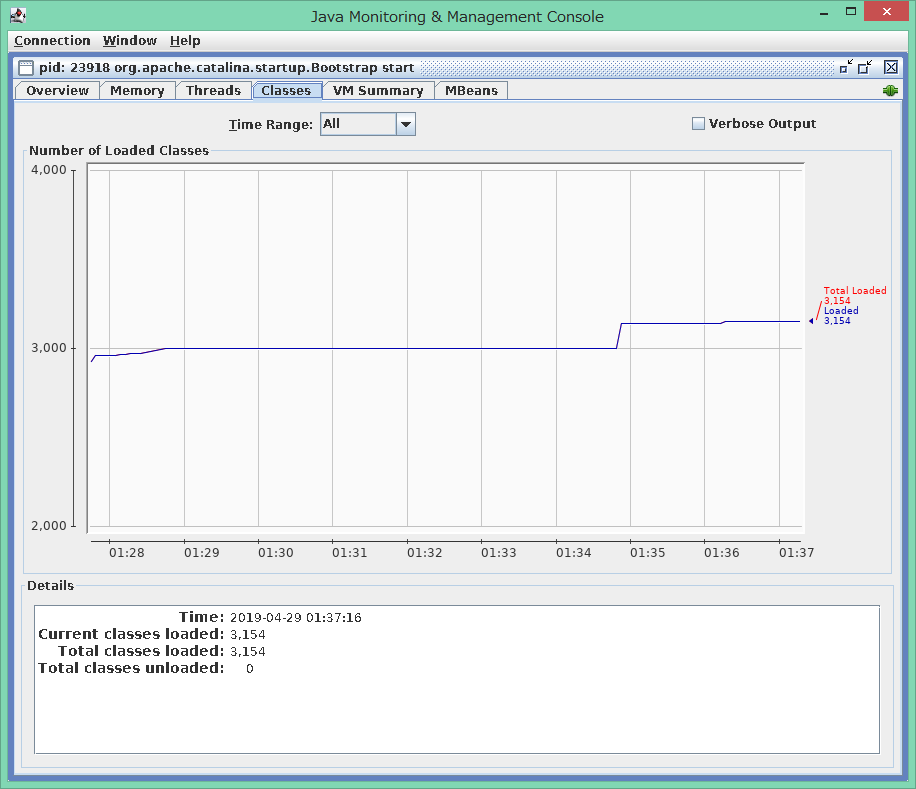

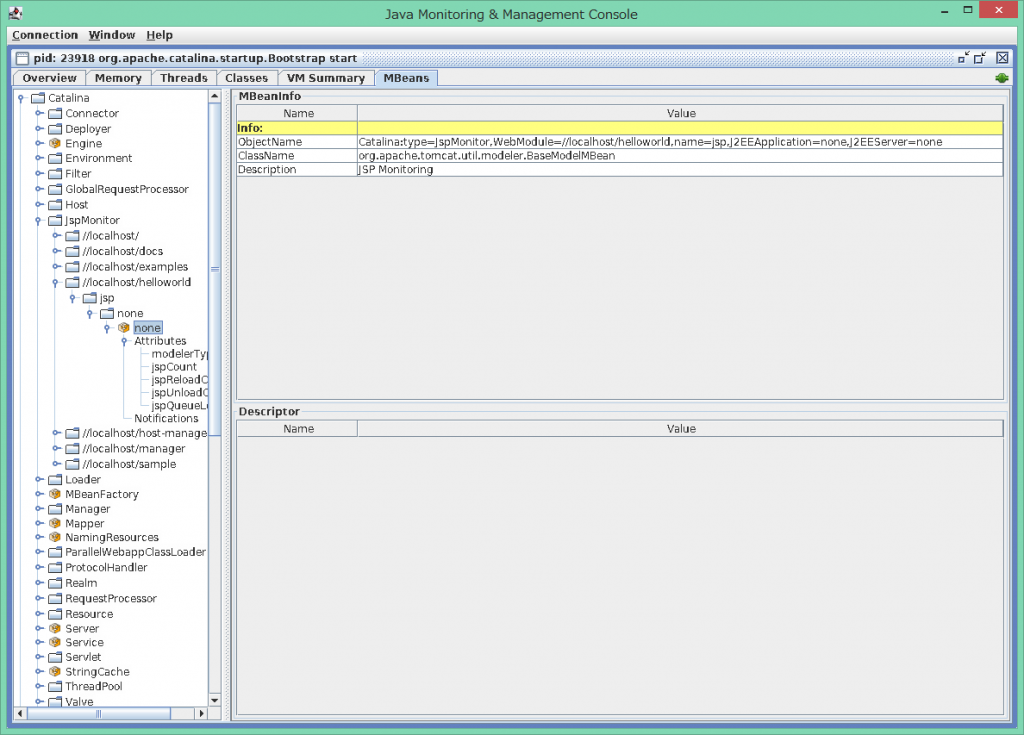
お疲れさまでした。
随時モニタリングはこれでも良いけど、metricbeat + jolokiaでロギングできるようにしておきたいなと。
いじょ。