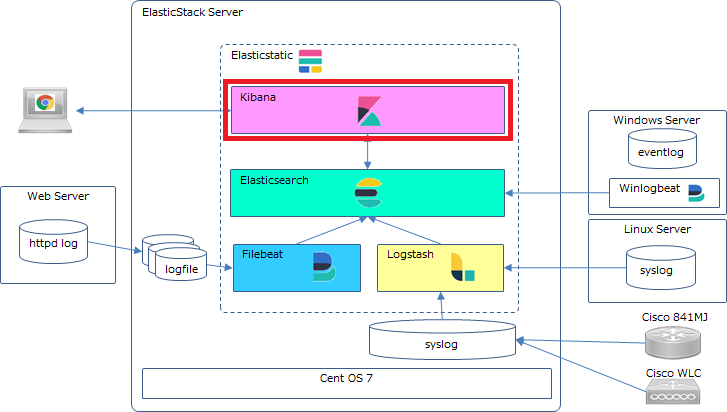
Kibanaのインストール
今回の記事は、Kibanaのインストール手順です。バージョン6.7では管理UI等も追加され、かなり便利になった印象を受けます。やはりGUIが使えるのは便利ですよね。
1.設計要素
/etc/kibana/kibana.ymlへ設定する項目になります。
検証目的ならば以下のバインドアドレスを設定しておけば問題ないでしょう。
| 設定項目 | kibana.yml内の項目名 | デフォルト値 |
| バインドアドレス | server.host | localhost |
| サーバ名 | server.name | ー |
2.インストール
インストールはElasticsearchのときと同様にyumで行うことにします。
この記事ではシングルノードで構築するので、 PGP Keyやリポジトリ設定はElasticsearchのインストールで設定済みなので割愛しますが、Kibanaを単独ノードで立てる場合は、PGP Keyのインストールやリポジトリ設定を行ってください
⓶kibanaのインストール
#
# yum install kibana
#
⑤/etc/kibana/kibana.ymlの編集
以下の設定をします。(デフォルト値を変更した箇所のみ抜粋)
・バインドアドレス:Kibanaにアクセスする際のIPアドレス(サーバのIPアドレスを設定)
・サーバ名:サーバのホスト名を設定
実際に本運用するシステムの設計については別途記事を書ければと思ってます。
# Kibana is served by a back end server. This setting specifies the port to use.
#server.port: 5601

# Specifies the address to which the Kibana server will bind. IP addresses and host names are both valid values.
# The default is 'localhost', which usually means remote machines will not be able to connect.
# To allow connections from remote users, set this parameter to a non-loopback address.
#server.host: "localhost"
server.host: "192.168.11.64"

# Enables you to specify a path to mount Kibana at if you are running behind a proxy.
# Use the `server.rewriteBasePath` setting to tell Kibana if it should remove the basePath
# from requests it receives, and to prevent a deprecation warning at startup.
# This setting cannot end in a slash.
#server.basePath: ""

# Specifies whether Kibana should rewrite requests that are prefixed with
# `server.basePath` or require that they are rewritten by your reverse proxy.
# This setting was effectively always `false` before Kibana 6.3 and will
# default to `true` starting in Kibana 7.0.
#server.rewriteBasePath: false

# The maximum payload size in bytes for incoming server requests.
#server.maxPayloadBytes: 1048576

# The Kibana server's name.  This is used for display purposes.
#server.name: "your-hostname"
server.name: "sves0002"

# The URLs of the Elasticsearch instances to use for all your queries.
#elasticsearch.hosts: ["http://localhost:9200"]
⑥Kibanaの起動
#
# systemctl start kibana
#
自動起動する場合は以下で
#
# systemctl enable kibana
#
⑦起動確認
kibanaサービスがactive(running)になっていることを確認しましょう。
#
# systemctl status kibana
#
⑧kibanaへのアクセス確認
ブラウザからkibanaをインストールしたサーバの5601番ポート(http://サーバ名:5601)へアクセスし以下の画面が表示されればOK。
「Kibana server is not ready yet」 のメッセージが表示された場合はまだ起動中かconfig,その他に問題があり起動が中断している可能性ありです。
Kibanaのインストールはこれで完了です。
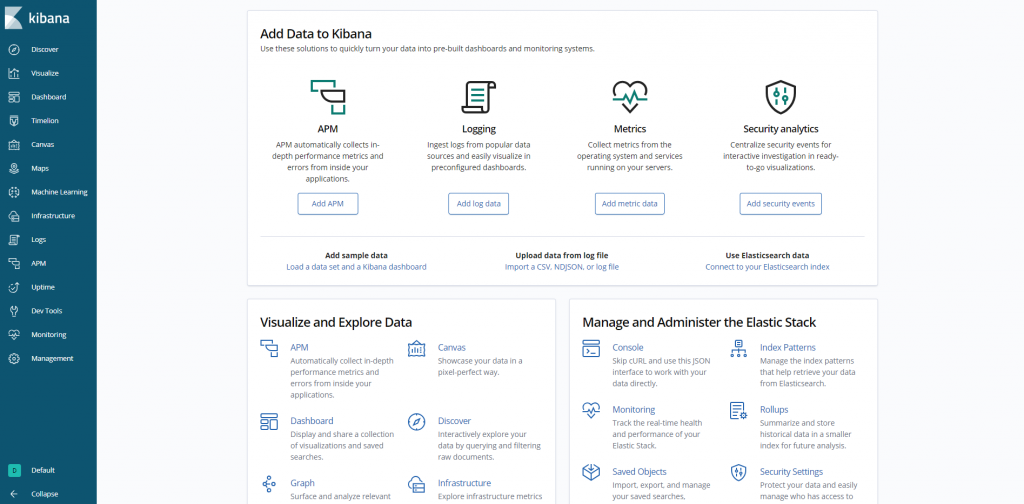
2.サンプルデータの表示
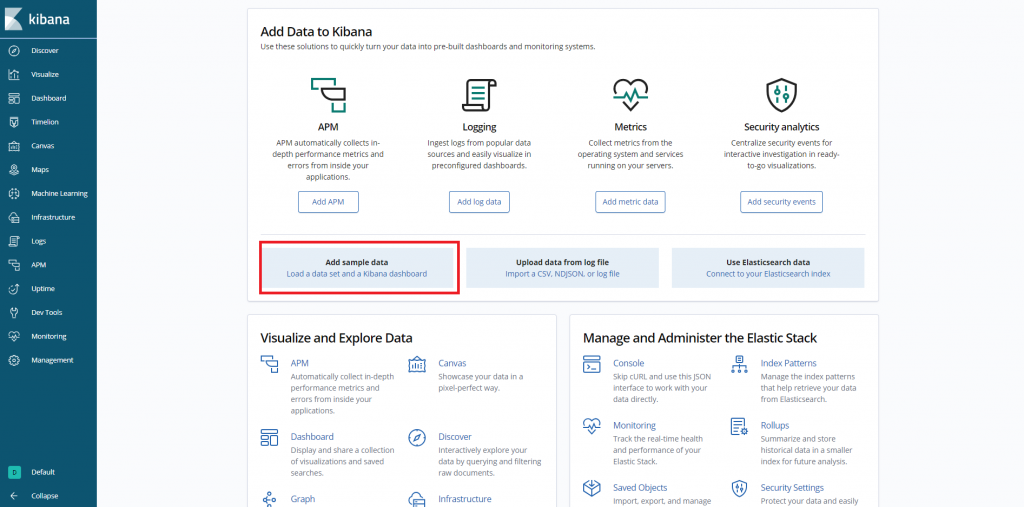
Home画面で「Load a data set and a Kibana dashboard」をクリック
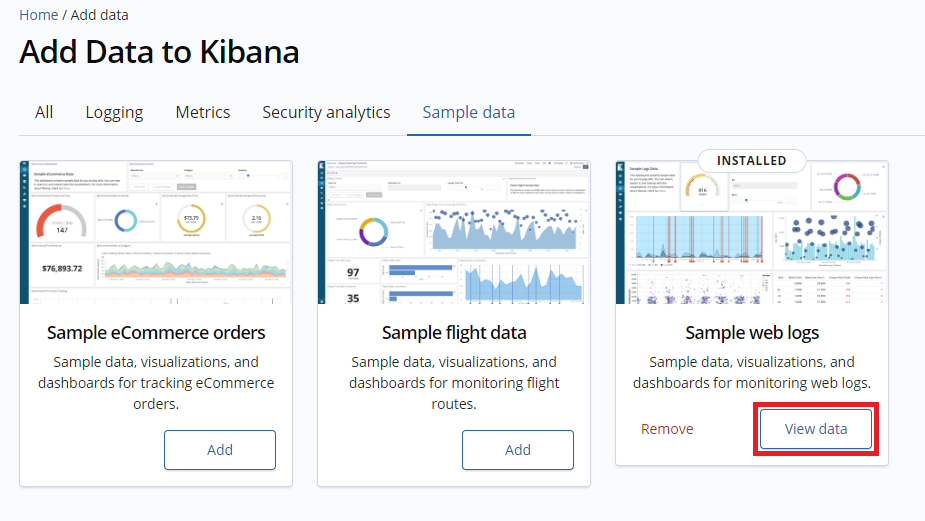
Sample web logs の「Add」をクリック

「View data」をクリック
ダッシュボードが表示されたでしょうか。なんかワクワクしませんか。
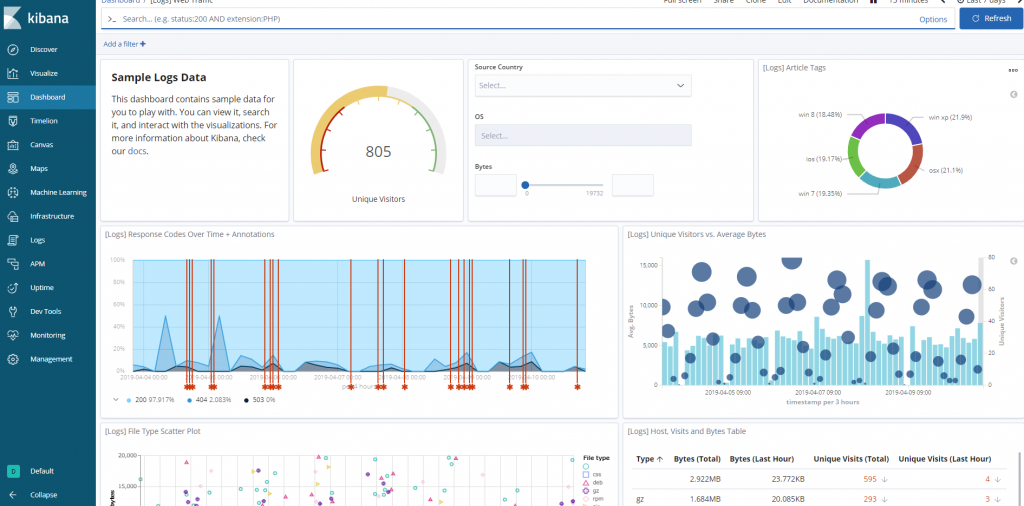
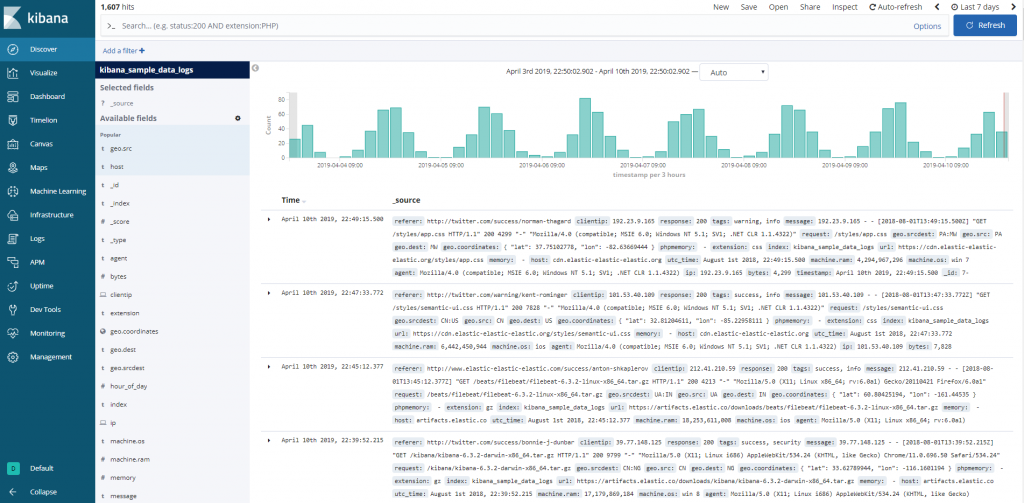
Discover
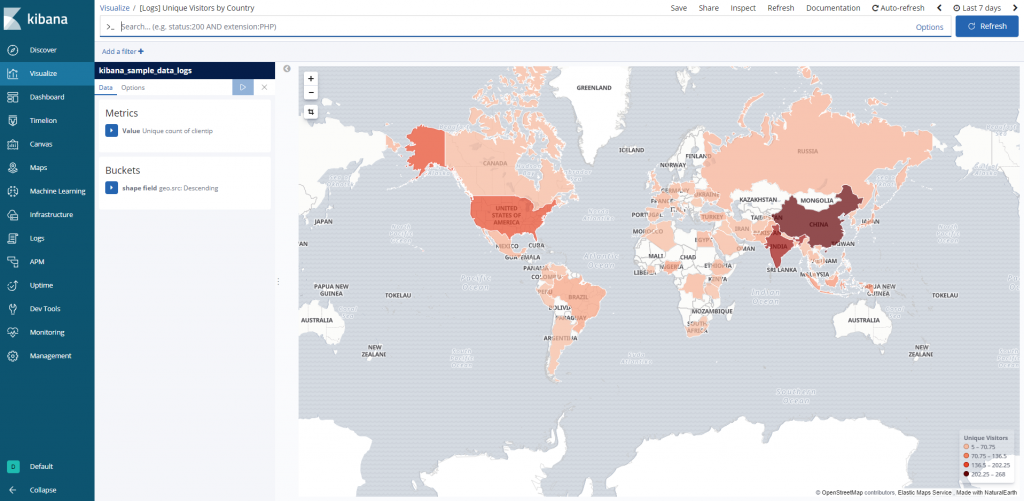
Visualize
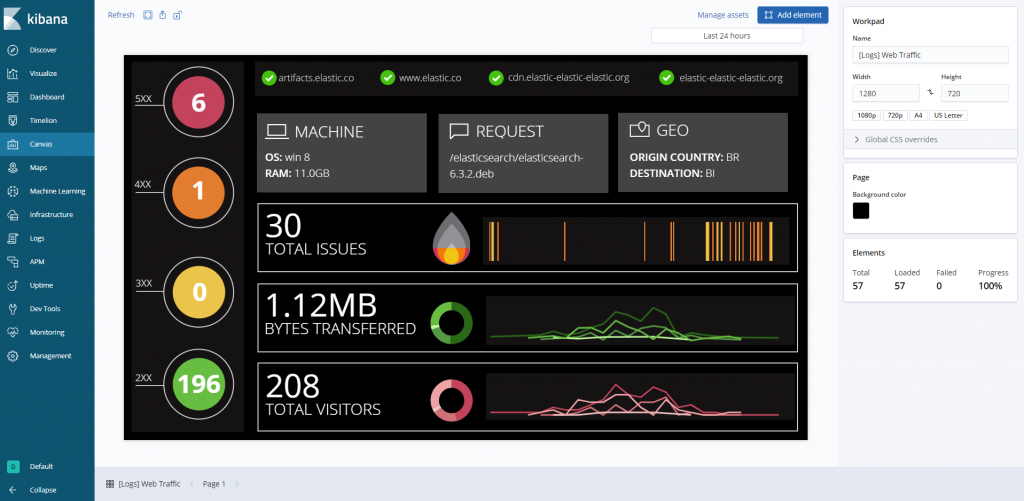
Canvas
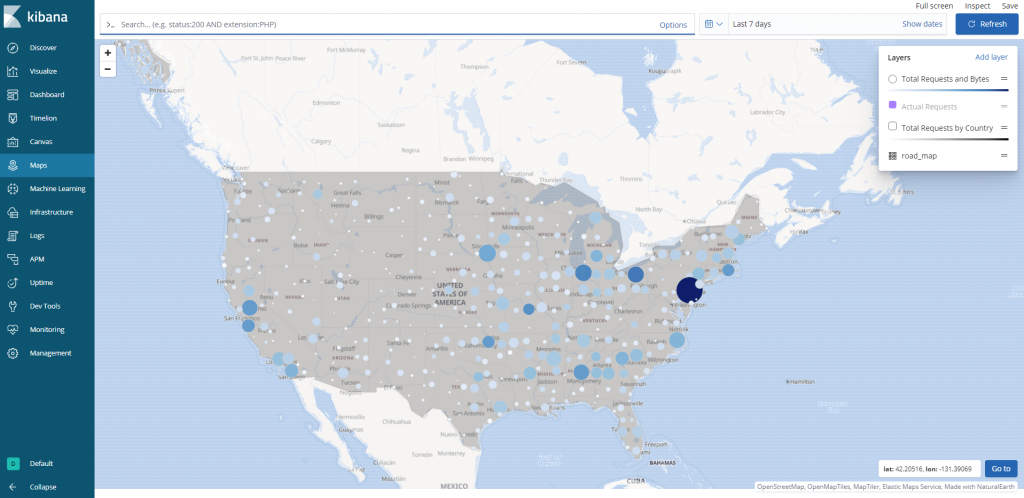
Maps
Logs
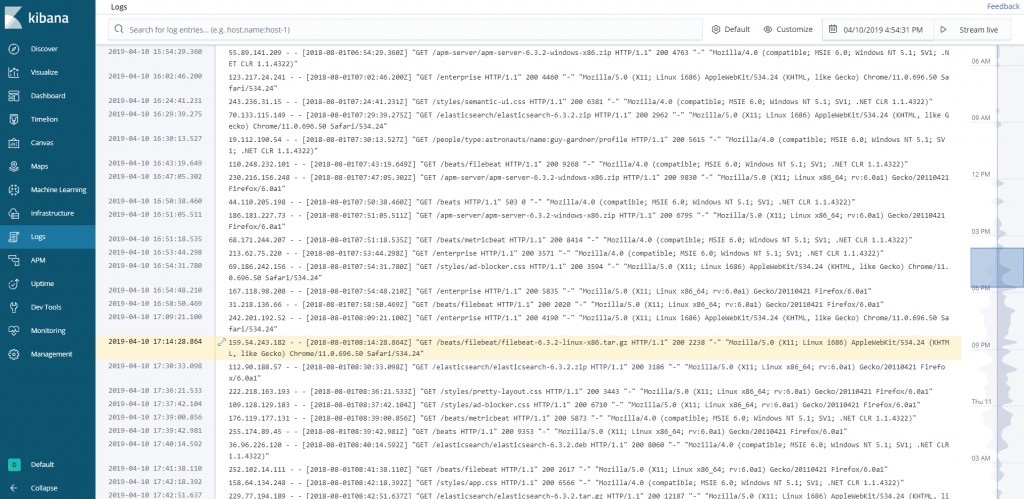
とりあえずサンプルデータで見ることができる画面のスクショということで。
kibanaの機能、使い方はたくさんありすぎて一度に書けないので別の記事で。
次回は、logstashのインストールです。
いじょ。