Elasticsearchインストール後の作業
今回はプラグインのインストールとElasticsearchをインストールしたら最初にやることや操作を書いておきます。(何もやらなくても動くと思いますが 最低限のテスト項目の目安にはなるかなと)
1.カーネルパラメータの設定
カーネルパラメータの設定値は構築環境により変わると思いますが、公式ドキュメントに記載されている内容で設定しておきます。筆者の環境はsystemdで管理しているので以下のファイルで設定しますがデフォルトで始めます。(zipパッケージで実装した場合は公式ドキュメントのとおりlimits.confに設定してください)
[Unit]
Description=Elasticsearch
Documentation=http://www.elastic.co
Wants=network-online.target
After=network-online.target

[Service]
RuntimeDirectory=elasticsearch
PrivateTmp=true
Environment=ES_HOME=/usr/share/elasticsearch
Environment=ES_PATH_CONF=/etc/elasticsearch
Environment=PID_DIR=/var/run/elasticsearch
EnvironmentFile=-/etc/sysconfig/elasticsearch

WorkingDirectory=/usr/share/elasticsearch

User=elasticsearch
Group=elasticsearch

ExecStart=/usr/share/elasticsearch/bin/elasticsearch -p ${PID_DIR}/elasticsearch.pid --quiet

# StandardOutput is configured to redirect to journalctl since
# some error messages may be logged in standard output before
# elasticsearch logging system is initialized. Elasticsearch
# stores its logs in /var/log/elasticsearch and does not use
# journalctl by default. If you also want to enable journalctl
# logging, you can simply remove the "quiet" option from ExecStart.
StandardOutput=journal
StandardError=inherit

# Specifies the maximum file descriptor number that can be opened by this process
LimitNOFILE=65535

# Specifies the maximum number of processes
LimitNPROC=4096

# Specifies the maximum size of virtual memory
LimitAS=infinity

# Specifies the maximum file size
LimitFSIZE=infinity

# Disable timeout logic and wait until process is stopped
TimeoutStopSec=0

# SIGTERM signal is used to stop the Java process
KillSignal=SIGTERM

# Send the signal only to the JVM rather than its control group
KillMode=process

# Java process is never killed
SendSIGKILL=no

# When a JVM receives a SIGTERM signal it exits with code 143
SuccessExitStatus=143

[Install]
WantedBy=multi-user.target

# Built for packages-6.7.0 (packages)
オーバーライド用のファイルに以下の設定をしておきます。
以下のコマンドでオーバーライド用のファイルを編集します。
#
# systemctl edit elasticsearch
#
以下のとおりLimitMEMLOCK 設定を追記
[Service]
LimitMEMLOCK=infinity
systemdのリロード
#
# systemctl daemon-reload
#
2.JVM Optionの設定
インストールでは設定していなかったJVMのヒープサイズ設定。筆者の検証環境はメモリ2Gなのでmax、minとも1gのままですが、本番環境なら物理メモリを64Gまで上げるでしょうからヒープの設定は32gといったところでしょうか。
## JVM configuration

################################################################
## IMPORTANT: JVM heap size
################################################################
##
## You should always set the min and max JVM heap
## size to the same value. For example, to set
## the heap to 4 GB, set:
##
## -Xms4g
## -Xmx4g
##
## See https://www.elastic.co/guide/en/elasticsearch/reference/current/heap-size.html
## for more information
##
################################################################

# Xms represents the initial size of total heap space
# Xmx represents the maximum size of total heap space

-Xms1g
-Xmx1g

################################################################
## Expert settings
################################################################
##
## All settings below this section are considered
## expert settings. Don't tamper with them unless
## you understand what you are doing
##
################################################################

## GC configuration
-XX:+UseConcMarkSweepGC
-XX:CMSInitiatingOccupancyFraction=75
-XX:+UseCMSInitiatingOccupancyOnly

~省略~
2.Elasticsearchの起動・停止
パッケージマネージャでインストールをしたので起動・停止はsystemdで。
・起動
#
# systemctl start elasticsearch
#
・停止
#
# systemctl stop elasticsearch
#
2.Pluginのインストール
Webアクセスログの解析を行うので定番のgeoipとuser_agentを入れましょう・・・と思ったら。
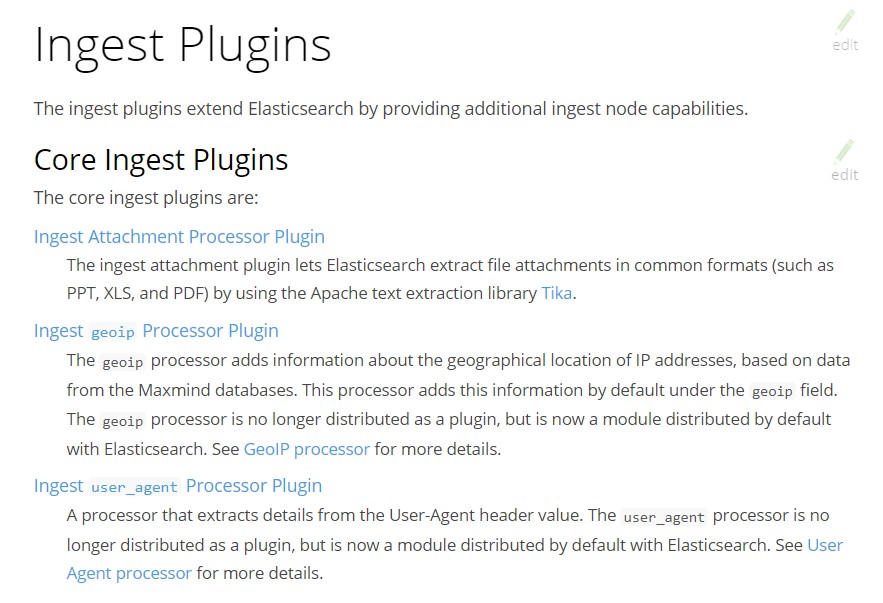
Elasticsearch 6.7ではDefault moduleになっているようでプラグインをインストールしようとしても以下のようにERRORが返りました。バージョンアップの際にプラグインのアップデートが面倒だなと思っていたのでデフォルトで実装されているのは助かりますね。
#
# /usr/share/elasticsearch/bin/elasticsearch-plugin  install ingest-user_agent
A tool for managing installed elasticsearch plugins

Commands
--------
list - Lists installed elasticsearch plugins
install - Install a plugin
remove - removes a plugin from Elasticsearch

Non-option arguments:
command

Option         Description
------         -----------
-h, --help     show help
-s, --silent   show minimal output
-v, --verbose  show verbose output
ERROR: Unknown plugin ingest-user_agent
#
形態素解析を行うなら以下のPluginを入れておけば良いかと。
・analysis-icu
・analysis-kuromoji
筆者がインストールした時はエラーでオンラインインストールができなかったので以下のとおりプラグインをwgetしてからオフラインインストール。(kuromojiインストールの例)
# wget https://artifacts.elastic.co/downloads/elasticsearch-plugins/analysis-kuromoji/analysis-kuromoji-6.7.0.zip
--2019-03-31 01:01:48--  https://artifacts.elastic.co/downloads/elasticsearch-plugins/analysis-kuromoji/analysis-kuromoji-6.7.0.zip
artifacts.elastic.co (artifacts.elastic.co) をDNSに問いあわせています... 2a04xxxxxxxx, xxx.xx.xx.xxx
artifacts.elastic.co (artifacts.elastic.co)|2a04:4e42:1a::734|:443 に接続しています... 接続しました。
HTTP による接続要求を送信しました、応答を待っています... 200 OK
長さ: 4640656 (4.4M) [application/zip]
`analysis-kuromoji-6.7.0.zip' に保存中

100%[==============================================================================================================>] 4,640,656   20.9MB/s 時間 0.2s

2019-03-31 01:01:49 (20.9 MB/s) - `analysis-kuromoji-6.7.0.zip' へ保存完了 [4640656/4640656]

# /usr/share/elasticsearch/bin/elasticsearch-plugin install file:///tmp/analysis-kuromoji-6.7.0.zip
-> Downloading file:///tmp/analysis-kuromoji-6.7.0.zip
[=================================================] 100%??
-> Installed analysis-kuromoji
#
3.INDEXテンプレートの登録
デフォルトのshardsとreplicasの値は5、1なので shards 1、replicas 0のテンプレートを登録する。
curl -X PUT 'localhost:9200/_template/testindex_template?pretty' -H 'Content-Type: application/json' -d'
{
 "index_patterns": "testindex",
  "settings": {
       "number_of_shards": "1",
       "number_of_replicas" : "0"
  }
}'
実行例 ackで trueが返ればOK
# curl -X PUT 'localhost:9200/_template/testindex_template?pretty' -H 'Content-Type: application/json' -d'
> {
> "index_patterns": "testindex",
>  "settings": {
>        "number_of_shards": "1",
>       "number_of_replicas" : "0"
>   }
> }'
{
  "acknowledged" : true
}
#
GETで登録されたテンプレートを確認
#
#  curl -X GET 'localhost:9200/_template/testindex_template?pretty'
#
実行結果(shards 1、replicas 0で登録されていればOK)
{
  "testindex_template" : {
    "order" : 0,
    "index_patterns" : [
      "testindex"
    ],
    "settings" : {
      "index" : {
        "number_of_shards" : "1",
        "number_of_replicas" : "0"
      }
    },
    "mappings" : { },
    "aliases" : { }
  }
}
4.INDEXの作成
まずはデータを入れる器を作る(実際はLogstahやBeatsのconfigに指定してしまうことが多いからINDEXを手作業で作成する機会というのはあまりないかも。
testindexという名前のINDEXを作成する。
#
# curl -X PUT 'localhost:9200/testindex?pretty’
#
実行結果
{
  "acknowledged" : true,
  "shards_acknowledged" : true,
  "index" : "testindex"
}
作成したINDEXの確認
sahards 1、replicas 0 で作成されていることを確認
#
# curl 'localhost:9200/_cat/indices'
green open testindex               wgVyVetERk-J8QdkUeq0Ow 1 0     0 0    230b    230b
#
#  curl 'localhost:9200/testindex?pretty'
{
  "testindex" : {
    "aliases" : { },
    "mappings" : { },
    "settings" : {
      "index" : {
        "creation_date" : "1554573422835",
        "number_of_shards" : "1",
        "number_of_replicas" : "0",
        "uuid" : "wgVyVetERk-J8QdkUeq0Ow",
        "version" : {
          "created" : "6070099"
        },
        "provided_name" : "testindex"
      }
    }
  }
}
5.ドキュメントの登録
作成したtestindexにドキュメントを登録してみます。
host、osというフィールドを登録
curl -X POST ‘localhost:9200/testindex/doc/’?pretty -H ‘Content-Type: application/json’ -d’
{
“host”: “sves0002”,
“os”: “CentOS Linux release 7.6.1810 (Core)”
}’
実行結果
#
# curl -X POST 'localhost:9200/testindex/doc/'?pretty -H 'Content-Type: application/json' -d'
> {
>  "host": "sves0002",
>  "os": "CentOS Linux release 7.6.1810 (Core)"
> }'
{
  "_index" : "testindex",
  "_type" : "doc",
  "_id" : "s87K_GkBVQqIbveUUrR0",
  "_version" : 1,
  "result" : "created",
  "_shards" : {
    "total" : 1,
    "successful" : 1,
    "failed" : 0
  },
  "_seq_no" : 0,
  "_primary_term" : 3
}
#
<!-- /wp:shortcode -->

<!-- wp:paragraph -->
<p>登録したドキュメントを検索</p>
<!-- /wp:paragraph -->

<!-- wp:shortcode -->

#
# curl -X GET 'localhost:9200/testindex/doc/_search?pretty'
#
実行結果
# curl -X GET 'localhost:9200/testindex/doc/_search?pretty'
{
  "took" : 1,
  "timed_out" : false,
  "_shards" : {
    "total" : 1,
    "successful" : 1,
    "skipped" : 0,
    "failed" : 0
  },
  "hits" : {
    "total" : 1,
    "max_score" : 1.0,
    "hits" : [
      {
        "_index" : "testindex",
        "_type" : "doc",
        "_id" : "s87K_GkBVQqIbveUUrR0",
        "_score" : 1.0,
        "_source" : {
          "host" : "sves0002",
          "os" : "CentOS Linux release 7.6.1810 (Core)"
        }
      }
    ]
  }
}
最後にテスト用に作成したINDEXを削除
#
# curl -X DELETE 'localhost:9200/testindex?pretty'
{
  "acknowledged" : true
}
#
他にもelasticsearchに対してREST APIでできることは、たくさんあるので知っておいたほうが良いかなと思いますがLogstash、Beats、Kibanaを併用する場合は、CLIで操作とういうことは少ないんじゃないかと筆者は思います。
次回は、Kibanaをインストールします。
いじょ。