Elastic Stack 7.1がリリースされました。
Elasticsearchのセキュリティの主要な機能が無料に
上記の公式Blogにも掲載されているとおり「主要なセキュリティ機能は、バージョン6.8.0および7.1.0以降で無料に」なったようです。(素晴らしい)
7.0.1の環境を7.1.0にバージョンアップしてみました。
・・・でSecurity設定を入れてみましょうか。
設定手順は Getting started with Elasticsearch security あたりが参考になるかと。
⓵ 証明書の作成
筆者の環境では証明書の配置場所が /etc/elasticsearch の下じゃないとexceptionが発生したので出力パスは以下のとおり。
#
# /usr/share/elasticsearch/bin/elasticsearch-certutil cert -out /etc/elasticsearch/elastic-certificates.p12 -pass ""
#
⓶ configの最後に以下の設定を追記。
xpack.security.enabled: true
xpack.security.transport.ssl.enabled: true
xpack.security.transport.ssl.verification_mode: certificate
xpack.security.transport.ssl.keystore.path: elastic-certificates.p12
xpack.security.transport.ssl.truststore.path: elastic-certificates.p12
⓷ elasticsearchを再起動。
⓸ ユーザーとパスワードの生成
#
# /usr/share/elasticsearch/bin/elasticsearch-setup-passwords auto
Initiating the setup of passwords for reserved users elastic,apm_system,kibana,logstash_system,beats_system,remote_monitoring_user.
The passwords will be randomly generated and printed to the console.
Please confirm that you would like to continue [y/N]y


Changed password for user apm_system
PASSWORD apm_system = ***************

Changed password for user kibana
PASSWORD kibana = ***************

Changed password for user logstash_system
PASSWORD logstash_system = ***************

Changed password for user beats_system
PASSWORD beats_system = ***************

Changed password for user remote_monitoring_user
PASSWORD remote_monitoring_user = ***************

Changed password for user elastic
PASSWORD elastic = ***************

#
⑤ Kibanaのconfig修正
kibanaのconfigに生成したユーザとパスワードを設定。
# If your Elasticsearch is protected with basic authentication, these settings provide
# the username and password that the Kibana server uses to perform maintenance on the Kibana
# index at startup. Your Kibana users still need to authenticate with Elasticsearch, which
# is proxied through the Kibana server.
elasticsearch.username: "kibana"
elasticsearch.password: "***************"
⑥ kibanaを再起動
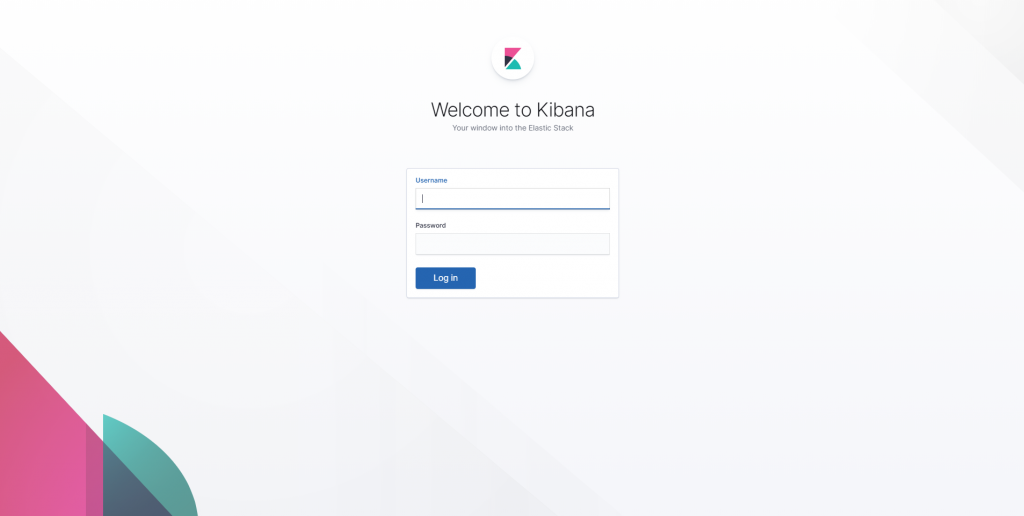
⑦ kibanaへアクセス
おぉ、ログイン画面出た。
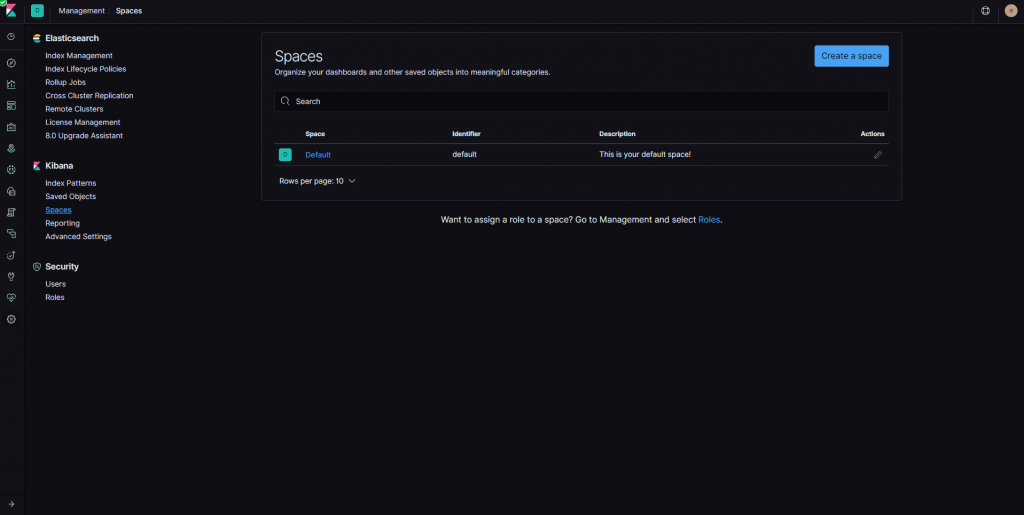
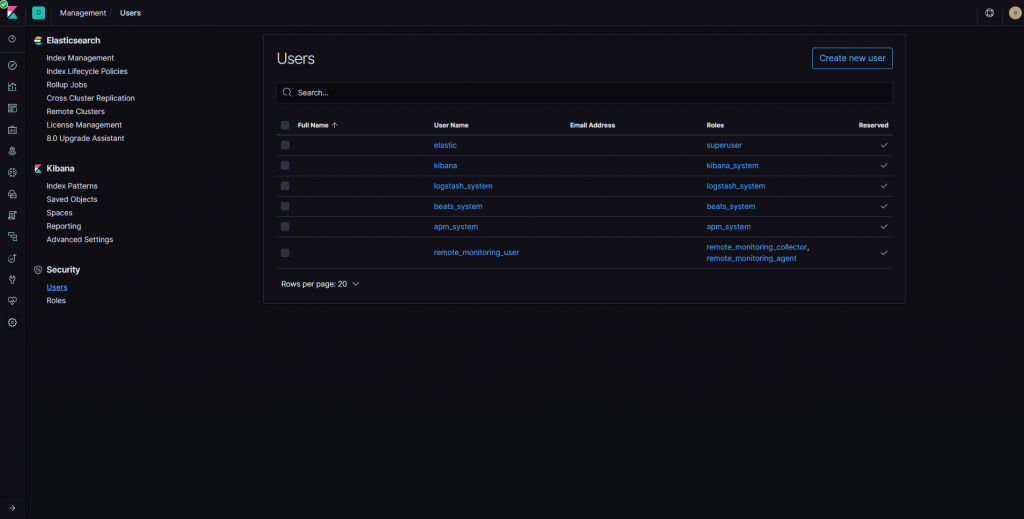
space、user、roleの設定画面も表示できるようになってます。
ライセンスは basic ですね。
#
# curl -u elastic:********** localhost:9200/_xpack/license?pretty
{
  "license" : {
    "status" : "active",
    "uid" : "ac4edfe5-c944-87656-c22b-gd11cifji9ef0b",
    "type" : "basic",
    "issue_date" : "2019-05-08T13:35:37.738Z",
    "issue_date_in_millis" : 1557322537738,
    "max_nodes" : 1000,
    "issued_to" : "cl-develop",
    "issuer" : "elasticsearch",
    "start_date_in_millis" : -1
  }
}
#
#
elastic 素晴らしい!
いじょ。